
Vote received! Would you like to let the author know their guide helped you and leave them a message?

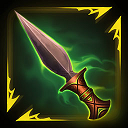
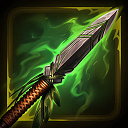
To effectively use ![]() Claw Shard on Serqet, your ability rotation should be:
Claw Shard on Serqet, your ability rotation should be: ![]() Cobra's Kiss >
Cobra's Kiss > ![]() Claw Shard>
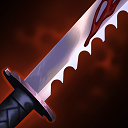
Claw Shard> ![]() Deathbane.
Deathbane.
 Bumba's Dagger
 Mace
Mace
 Healing Potion
 Blink Rune
 Horn Shard
Crit is good on Serqet because it procs off of ![]() Deathbane, and she gets bonus % from her ultimate
Deathbane, and she gets bonus % from her ultimate ![]() Last Breath.
Last Breath.
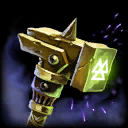
We prefer ![]() Runeforged Hammer over
Runeforged Hammer over ![]() Hydra's Lament as we can only end up auto attacking once (due to our passive), and
Hydra's Lament as we can only end up auto attacking once (due to our passive), and ![]() Runeforged Hammer will apply to the critical strikes with our
Runeforged Hammer will apply to the critical strikes with our ![]() Deathbane
Deathbane
 Bumba's Spear
 Jotunn's Wrath
 Rage
Rage
 Devoted Deathbringer
 Serrated Edge
 Runeforged Hammer
 Temporal Beads
 Scorching Blink Rune
If you prefer a bruiser type of build, these items would replace ![]() Rage and
Rage and ![]() Deathbringer:
Deathbringer:
![]() Spectral Armor is good if 2+ enemies have crit.
Spectral Armor is good if 2+ enemies have crit.
![]() Mantle of Discord is good if you play to all-in during the late game.
Mantle of Discord is good if you play to all-in during the late game.
![]() Magi's Revenge is good if you are against CC heavy team comps.
Magi's Revenge is good if you are against CC heavy team comps.
![]() Breastplate of Determination if you want to be anti-physical.
Breastplate of Determination if you want to be anti-physical.
![]() Oni Hunter's Garb if you want to be anti-magical.
Oni Hunter's Garb if you want to be anti-magical.
 Spectral Armor
 Mantle of Discord
 Magi's Revenge
 Breastplate of Determination
 Oni Hunter's Garb
 Y
Y
 B
B
 A
A
 X
X

Tap each threat level to view Serqet’s threats
Tap each synergy level to view Serqet’s synergies
|
Ability 2 -
|
|
Ultimate -
If the enemy dies with the poison still ticking, they explode and spread the poison to all nearby enemies. Serqet also gains passive critical strike chance as she ranks up |
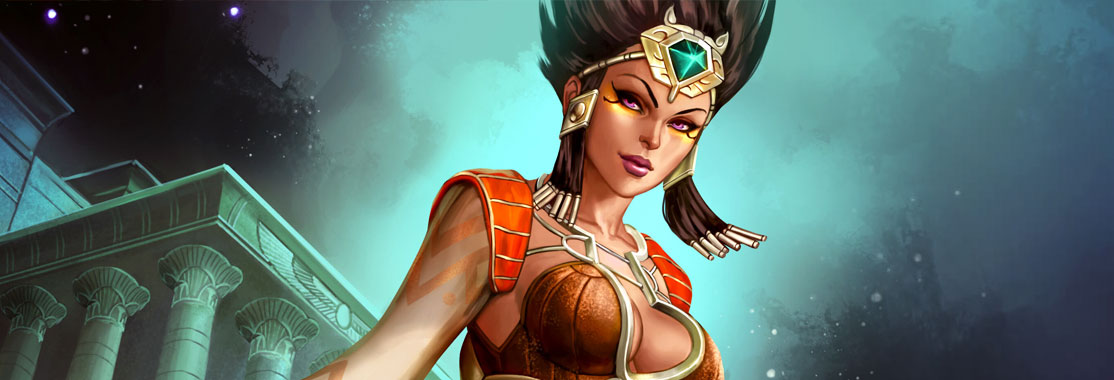
Serqet is an independant relic forcer, who slowly becomes a solid team fighter as the game goes on. You have the option of keeping a strong kill potential with the standard crit build, but you could also build the recommended bruiser items to make your team play stronger. Press F to pay respects for the enemy team's relics.
Keep up the good work <3
SMITEFire is the place to find the perfect build guide to take your game to the next level. Learn how to play a new god, or fine tune your favorite SMITE gods’s build and strategy.
Copyright © 2019 SMITEFire | All Rights Reserved


Your ult does give you passive crit chance, and this with
Swapping
This build path is very similar to the standard