
Vote received! Would you like to let the author know their guide helped you and leave them a message?
Since Smite 2 only allows you to have 1 relic, and you can only pick that relic for the rest of the game, it's important to understand the effects of it. In ![]() Bacchus's case, there are 2 I prefer on him.
Bacchus's case, there are 2 I prefer on him.
The first is ![]() Blink Rune, this is because it's just really fun on
Blink Rune, this is because it's just really fun on ![]() Bacchus. But it also has other great effects for him. For example, Bacchus likes to flop in. When doing this he forfeits his escape for a few seconds until it comes back up. Blink can either let Bacchus engage without using his escape, or it can act as a temporary escape until Bacchus's flop is back up. This relic has a lot of use cases on Bacchus and I'd recommend going it just about every game.
Bacchus. But it also has other great effects for him. For example, Bacchus likes to flop in. When doing this he forfeits his escape for a few seconds until it comes back up. Blink can either let Bacchus engage without using his escape, or it can act as a temporary escape until Bacchus's flop is back up. This relic has a lot of use cases on Bacchus and I'd recommend going it just about every game.
If you don't want to go blink, the second relic I would recommend is ![]() Sundering Arc. This is because Bacchus] is an aggressive support. He doesn't like to sit back and wait for stuff to happen. He wants to be proactive, and that's exactly what sunder allows him to do. It does this by giving him early game steal potential on enemy buffs, or steal potential late game on main objectives like the fire giant or the gold fury. Overall, this relic compliments Bacchus's playstyle very well and I'd recommend it if you're not going [[Blink Rune on him.
Sundering Arc. This is because Bacchus] is an aggressive support. He doesn't like to sit back and wait for stuff to happen. He wants to be proactive, and that's exactly what sunder allows him to do. It does this by giving him early game steal potential on enemy buffs, or steal potential late game on main objectives like the fire giant or the gold fury. Overall, this relic compliments Bacchus's playstyle very well and I'd recommend it if you're not going [[Blink Rune on him.
 Blink Rune
 Sundering Arc
Bacchus is a big ![]() War Flag user. He has the ability to get early pressure.
War Flag user. He has the ability to get early pressure. ![]() War Flag is great on supports who can get early pressure because it helps them excel even more in lane, since it's giving an aura of attackspeed, movementspeed, and you're getting extra gold and sustain from it. Even though
War Flag is great on supports who can get early pressure because it helps them excel even more in lane, since it's giving an aura of attackspeed, movementspeed, and you're getting extra gold and sustain from it. Even though ![]() Selflessness isn't an incorrect pickup, I much prefer
Selflessness isn't an incorrect pickup, I much prefer ![]() War Flag on him in just about every case because of the pressure he and his laner gain from it.
War Flag on him in just about every case because of the pressure he and his laner gain from it.
![]() Medallion will later build into
Medallion will later build into ![]() Stampede which will be discussed in the full build portion of the build.
Stampede which will be discussed in the full build portion of the build.
Finally, we're gonna finish his start off with some health pots, to help sustain in lane, and some wards that we can use to gain sight on anyone coming to gank us. They'll be a section below on where to place the wards.
 War Flag
 Medallion
 Health Potion
 Vision Ward
Here's gonna be our full build for ![]() Bacchus. I'll have another section for items you can replace if you'd like, but this would be my main general build for him. It's important to note that each game is different, and thus will require building different items. But this is a good place to get you started.
Bacchus. I'll have another section for items you can replace if you'd like, but this would be my main general build for him. It's important to note that each game is different, and thus will require building different items. But this is a good place to get you started.
![]() War Banner is just our upgrade from
War Banner is just our upgrade from ![]() War Flag. Get this when you hit level 15, but it just builds from it's starter that we talked about in the "starter" section.
War Flag. Get this when you hit level 15, but it just builds from it's starter that we talked about in the "starter" section.
![]() Stampede is a great item all around, but extremely good against comps that have a lot of slows. It's honestly a stat stick. It should be purchased in just about every support build with what it gives you right now for tankiness.
Stampede is a great item all around, but extremely good against comps that have a lot of slows. It's honestly a stat stick. It should be purchased in just about every support build with what it gives you right now for tankiness.
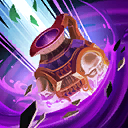
![]() Stone of Binding is great on heavy CC oriented characters like
Stone of Binding is great on heavy CC oriented characters like ![]() Bacchus. That's because they can abuse it's passive which reduces the targets overall protections. This makes them more vulnerable, allowing them to take increased damage from all sources. It also has great tanky stats. It's an all around fantastic item for any support that can build it.
Bacchus. That's because they can abuse it's passive which reduces the targets overall protections. This makes them more vulnerable, allowing them to take increased damage from all sources. It also has great tanky stats. It's an all around fantastic item for any support that can build it.
![]() Talisman Of Purification I believe is a must in every support build. This item can be activated even while you're being CC'd. It's essentially a free beads for you and everyone around you, and it gives you cooldown. What's not to love? I would go this pretty much every game, building it no later then 3rd item.
Talisman Of Purification I believe is a must in every support build. This item can be activated even while you're being CC'd. It's essentially a free beads for you and everyone around you, and it gives you cooldown. What's not to love? I would go this pretty much every game, building it no later then 3rd item.
![]() Screeching Gargoyle gives you a ton of cooldown and magical protections. It's also an additional CC that you can have, and it's very good to help counter dive. On top of that, enemies who are silenced by this item become weaker, reducing their overall prots which means they take more damage. This is another item I have in almost every support build.
Screeching Gargoyle gives you a ton of cooldown and magical protections. It's also an additional CC that you can have, and it's very good to help counter dive. On top of that, enemies who are silenced by this item become weaker, reducing their overall prots which means they take more damage. This is another item I have in almost every support build.
![]() Spirit Robe is an all around great tanky item. It's very good against CC heavy comps, as it gives you more protections making you tankier when you get CC'd. I think this item is a must have into heavy CC comps, since it has no internal cooldown and it's protections when combined with it's passive are unrivaled.
Spirit Robe is an all around great tanky item. It's very good against CC heavy comps, as it gives you more protections making you tankier when you get CC'd. I think this item is a must have into heavy CC comps, since it has no internal cooldown and it's protections when combined with it's passive are unrivaled.
![]() Hussar's Wings just like
Hussar's Wings just like ![]() Stampede is a great stat stick. It's similar in that it gives slow immunity.... BUT PERMANENTLY. On top of that, the amount of protections and HP it gives is unreal. This is a great item to finish out a support build with.
Stampede is a great stat stick. It's similar in that it gives slow immunity.... BUT PERMANENTLY. On top of that, the amount of protections and HP it gives is unreal. This is a great item to finish out a support build with.
 War Banner
 Stampede
 Stone of Binding
 Talisman Of Purification
 Screeching Gargoyle
 Spirit Robe
 Hussar's Wings
These are gonna be some additional items that you can sub in and out of your main build if you'd like. Most of these are going to be more niche, and thus used in more specific situations.
![]() Gladiator's Shield can be subbed out early on in your build (I'd say build it no later than 3rd item). It's going to give you additional damage overall if you're looking for that more "bruser" style of play.
Gladiator's Shield can be subbed out early on in your build (I'd say build it no later than 3rd item). It's going to give you additional damage overall if you're looking for that more "bruser" style of play.
![]() Circe's Hexstone is a pretty versatile item. It can either be used as an engage tool, an escape tool, or just as an additional CC or damage tool. Since this item gives you an additional dash, it allows you to play more aggressively without getting as punished. If you can fit it in, I highly recommend going this item.
Circe's Hexstone is a pretty versatile item. It can either be used as an engage tool, an escape tool, or just as an additional CC or damage tool. Since this item gives you an additional dash, it allows you to play more aggressively without getting as punished. If you can fit it in, I highly recommend going this item.
![]() Shogun's Ofuda is great if you have a lot of auto attack oriented allies on your team. This will provide them that extra stim that might just win you the fight.
Shogun's Ofuda is great if you have a lot of auto attack oriented allies on your team. This will provide them that extra stim that might just win you the fight.
![]() Scepter Of Dominion is another great fill in item if you can go it in your build. This item allows you to essentially control what's going on in a space for a couple of seconds. It can be used to pause damage on objectives like fire giant. Or it can be used to save allies that are getting dove by dropping it on them. The uses are endless and it's one of the most fun items in the game.
Scepter Of Dominion is another great fill in item if you can go it in your build. This item allows you to essentially control what's going on in a space for a couple of seconds. It can be used to pause damage on objectives like fire giant. Or it can be used to save allies that are getting dove by dropping it on them. The uses are endless and it's one of the most fun items in the game.
 Gladiator's Shield
 Circe's Hexstone
 Shogun's Ofuda
 Scepter Of Dominion

 Y
Y
 B
B
 A
A
 X
X
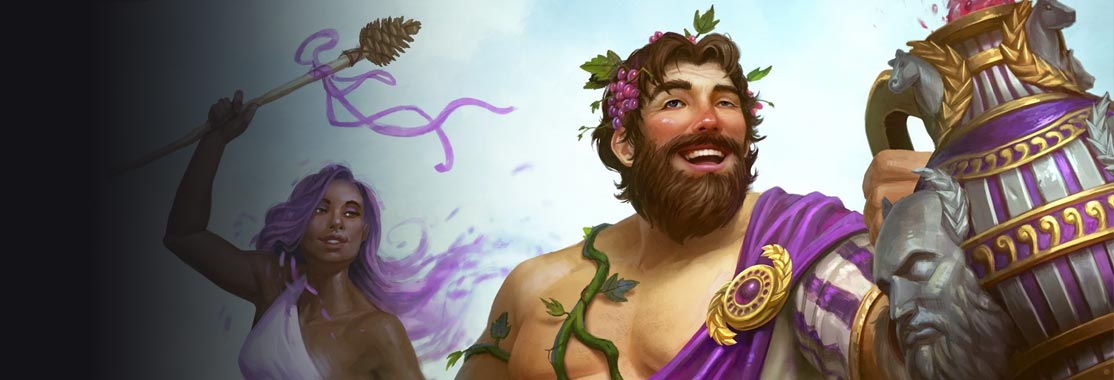
Hey there, I go by Dashboarrd and I'm a Grandmaster Support Conquest player. I've competed in the SCC (Smite Challenger Circuit) and I have won SOC (Smite Open Circuit). I have also won plenty of gem tourneys during the weekends, such as Iced and Vulpis. I also hit Masters in Smite 2 and I competed in the Vegas tournament, making playoffs. I have put in many hours into Smite and in particular ![]() Bacchus. I hope this guide can give you some new direction with
Bacchus. I hope this guide can give you some new direction with ![]() Bacchus if you're struggling with him, or just improve your overall
Bacchus if you're struggling with him, or just improve your overall ![]() Bacchus gameplay.
Bacchus gameplay.
SMITEFire is the place to find the perfect build guide to take your game to the next level. Learn how to play a new god, or fine tune your favorite SMITE gods’s build and strategy.
Copyright © 2019 SMITEFire | All Rights Reserved


Leave a Comment This author would like to receive feedback
and suggestions about their guide.
You need to log in before commenting.
Collapse All Comments