
This guide has not yet been updated for the current season. Please keep this in mind while reading. You can see the most recently updated guides on the browse guides page
Vote received! Would you like to let the author know their guide helped you and leave them a message?
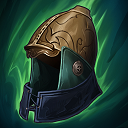
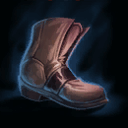
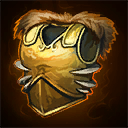
Warrior's Blessing gives you the tankiness you need for the laning phase
 Warrior's Blessing
 Magic Focus
 Healing Potion
 Mana Potion
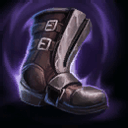
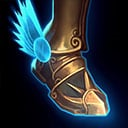
Shoes of Focus I recommend in Mid because of the higher mana pool and need for higher cdr than you'd see in solo where Magi's sustain and power gets more relative value, but purple boots are still a strong option.
 Shoes of Focus
 Shoes of the Magi
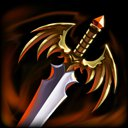
Flat pen is great for Jorm diving backliners - Deso and Magus both have their points, with Jorm being all damaging abilities, Magus is likely stronger but cooldown can be difficult for Jorm to build. Divine as needed.
 Spear of Desolation
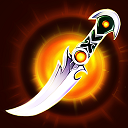
 Spear of the Magus
 Divine Ruin
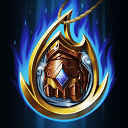
High base power itemized for diving backline effectively. Mantle is 100% mandatory as it will enable you to ult out of sticky situations. Sell shoes for Spear of Desolation or Rod of Tahuti in this build.
 Soul Reaver
Spear of the Magus
Shoes of Focus
Soul Reaver
Spear of the Magus
Shoes of Focus
 Ethereal Staff
 Void Stone
 Mantle of Discord
Spear of Desolation
Divine Ruin
Mantle of Discord
Spear of Desolation
Divine Ruin
 Gem of Isolation
 Pythagorem's Piece
 Rod of Tahuti
 Stone of Binding
Bulwark of Hope has similar utility to Mantle in helping you ult out of being locked down and focused, which will tend to happen a damage-focused Jorm
 Genji's Guard
 Bulwark of Hope
 Spirit Robe
 Hide of the Urchin
 Celestial Legion Helm
 Tyrannical Plate Helm
Beads+Aegis is standard for a mid-laner, but with a bruiser build you can often benefit from one of the other options.
 Purification Beads
 Aegis Amulet
 Shield of Thorns
 Magic Shell
 Horrific Emblem
1-2-4-3
 Y
Y
 B
B
 A
A
 X
X

But I hate solo lane.
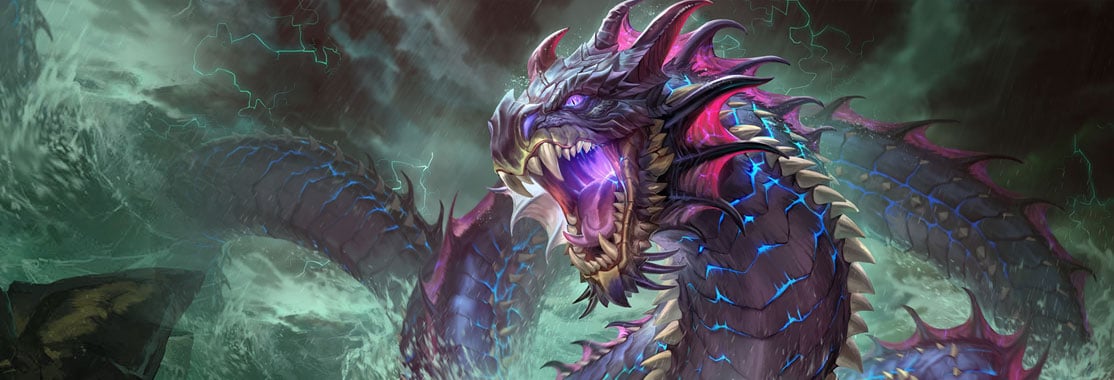
It should be understood that Jormungandr's best role is generally solo because of his ideal role as a bruiser diving god. Jormungandr full defense is a wet noodle lacking in strong enough cc to be useful, and full damage Jormungandr is too squishy to get off his kit through team fights.
It should be noted that Jormungandr has very high base physical defense - 91 protections, as well as 2,495 base hp.
SMITEFire is the place to find the perfect build guide to take your game to the next level. Learn how to play a new god, or fine tune your favorite SMITE gods’s build and strategy.
Copyright © 2019 SMITEFire | All Rights Reserved


Leave a Comment
You need to log in before commenting.
Collapse All Comments